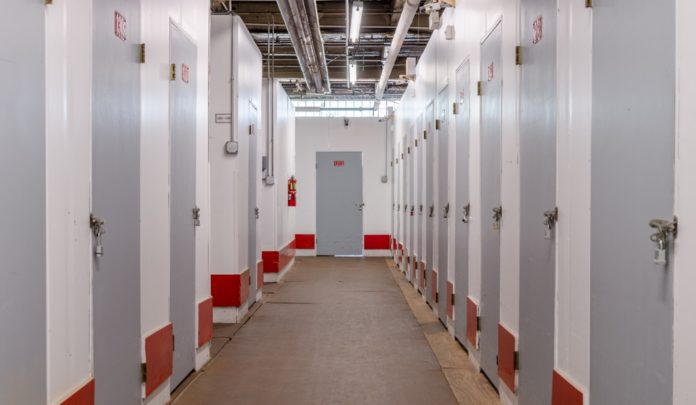
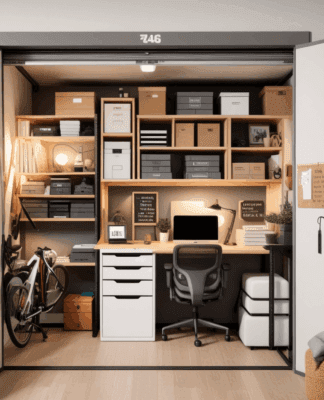
Having an offsite unit is a great way to supplement your home’s storage capacity. Self-storage units can keep your seasonal items out of the way, hold bulky sports equipment as jerseys rotate, and make the perfect place for gardening tools when the ground is covered in snow. However, most people who use storage units pack their items in boxes and put them away with no rhyme or reason. Then, when they need to access something, they realize that their holiday décor or sweaters and boots are all the way against the back wall of the storage unit. Before you know it, five hours have passed and most of your belongings are strewn about. To help you avoid these circumstances and streamline accessibility, here are nine ways to organize your self-storage unit for frequent access.
1. Create a Plan and Take Inventory
Prior to getting started, try to make a plan regarding how you’re going to use your self-storage unit. If you already have a unit and will be transferring your things into a different size, consider whether you’ll be increasing storage capacity or downsizing. This will depend on whether you want to keep most of your items, add to them, or get rid of some things.

For those who don’t currently have a storage unit, the process may be more streamlined, as you can do everything when you begin to pack your boxes. Regardless of if you currently use storage or not, planning how you’re going to organize your space and making an inventory of the items you’re going to store is a good way to get started. Write down everything that you have that will be going into storage so you can strategically go through each item and determine whether you’ll need it throughout the year. If you’re a visual processer, draw a map on a piece of paper to help with spatial organization.
2. Don’t Be Afraid to Unpack Your Boxes
If you have things in storage, your items are probably already packed away in boxes. When you’re re-organizing your unit, don’t be afraid to go through and unpack everything. This will add extra time to the overall process, but it will make the final product much more effective, especially if you haven’t gone through your belongings in a while. To take a comprehensive approach to organizing, take the time to open each box and go through the contents. Use the three-box method to get rid of things that you don’t use or throw away things that are broken. Once you’ve gone through your items, it’s time to assess everything you plan on keeping.

3. Make a List of Things You Rarely Use
First, take a look at everything you’re going to store and consider which items you rarely use. These items will be stored at the back of your unit, since you won’t need to access them as often. You may find that there are some items you know you won’t need access to at all and others that you may need to be more accessible. Separate these items into different boxes so that the things you might need are more accessible than those you don’t.
4. Identify Things You Use Most
Next, go through everything and identify all of the items that you will need to access the most. This can be easier said than done, especially if you’re organizing your unit during the summer and aren’t actively thinking about seasonal clothing or décor. Some common items that families need to regularly access out of their self-storage unit include the following:
- Seasonal clothing
- Footwear
- Holiday décor
- Costumes
- Bakeware or kitchenware
- Cookout supplies
- Sleds or snowboards
- Sports equipment
- Tents and sleeping bags
- Children’s toys
- Gardening tools
- Hobby-related supplies
- Office documents
Take the time to look over your inventory and put some thought into each item. If you think you may need to access it throughout the year, keep it closer to the front of your storage unit.
5. Consider Using the Same-Size Boxes
There are several options for containers when putting your items into storage. While many people often use different sizes for different items, doing so can make it harder to organize your unit. To improve accessibility, consider using the same size containers for everything. Small or medium boxes are the best option, as they allow for heavy items and can withstand the pressure at the bottom of a stack. If you want to use larger boxes to store blankets, pillows, or other light items, make sure they’re stored near the top of a stack to avoid buckling under pressure.
6. Repack Your Boxes
After identifying the things you’ll need to access more frequently, you can begin to repack your boxes for storage. During this time, create an inventory for each box that includes all of its contents. Give each box a number and make sure it coincides to the number on your master inventory list. While this might seem like a waste of time now, it will come in handy when you need to access your items in storage throughout the year. Try to be as detailed as possible and label the box in a way that you can identify it once everything’s back in your unit. Remember, boxes that you will need to access should go into your storage unit last, so keep them off to the side as you start putting everything away.

7. Consider Renting a Size Bigger Than You Need
A lot of people who utilize self-storage units choose the smallest size possible to pack away their items. While there’s nothing wrong with this per se, it can make accessibility challenging down the line. When you’re storing items that you plan on accessing later, consider renting a size bigger than you need. This will give you enough room to navigate through your unit without having to spend hours unstacking and sorting through boxes. With a bigger storage unit, you’ll also reduce the risk of damaging your items, as everything will fit without having to stuff things in.
8. Add Shelving to Your Storage Unit
Another way to increase the accessibility of your self-storage unit is to add shelves along the walls. This drastically increases the amount of storage space you have without risking damages from stacking too many boxes on top of each other. This is especially beneficial for those who plan to store their items for several years. Sturdy shelving units allow you to take full advantage of the storage unit’s height without risking damage to your belongings.
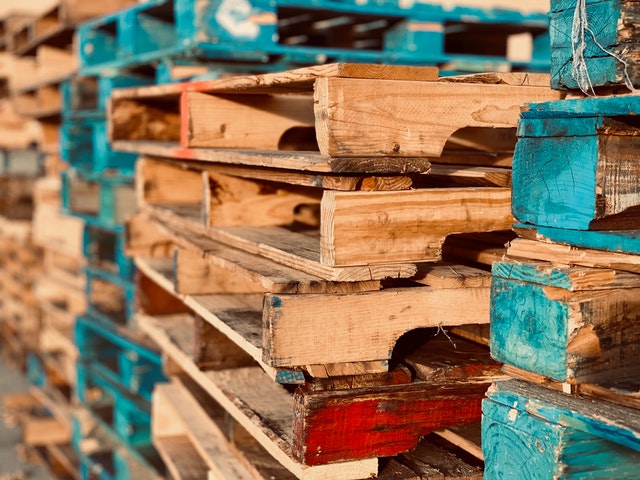
You should also consider using wooden or plastic pallets on the ground underneath your boxes and furniture to help avoid water damage or problems with spills. By raising your items off the ground, you’ll improve airflow and help keep your things in the best condition possible.
9. Utilize Aisles for Easier Navigation
Finally, when you’re putting everything back in your storage unit, start by lining the back walls. If you have shelves, put your least needed items on the bottom racks, as they’ll be the least accessible. You can then pack everything in order from least needed (in the back) to most accessed (in the front). If you have a large enough storage unit, create aisles during this process. This can help you exponentially increase accessibility of your entire storage unit. Depending on the size of your space, you can utilize one aisle that’s down the middle, or two aisles evenly spaced. Aisles are great options for those who aren’t sure what they’ll need to access and don’t want to spend hours emptying their unit each time they visit.
When you need to supplement your home’s storage solutions, The Lock Up Self Storage has you covered. We offer a variety of self-storage units in varying sizes to meet your needs and give you more livable space. With our flexible leasing options, you can test out a unit with short-term rentals and extend into long-term rentals as needed. All of our units are temperature controlled and offer stable levels of humidity to ensure that your things stay in great condition. Our facilities are protected with top-of-the-line security features like perimeter alarms, gated access codes, and 24/7 CCTV. To learn more about our self-storage units at The Lock Up, give us a call today at 1-866-327-LOCK or stop by one of our locations for a tour of the facility.

